Turbo54's Dave D22 Navara

Nissan Navara Forum

Help Support Nissan Navara Forum:

This site may earn a commission from merchant affiliate links, including eBay, Amazon, and others.

Turbo54

Member
Joined
Nov 13, 2012
Messages
55
Reaction score
0
Location
Radelaide
Hi All,
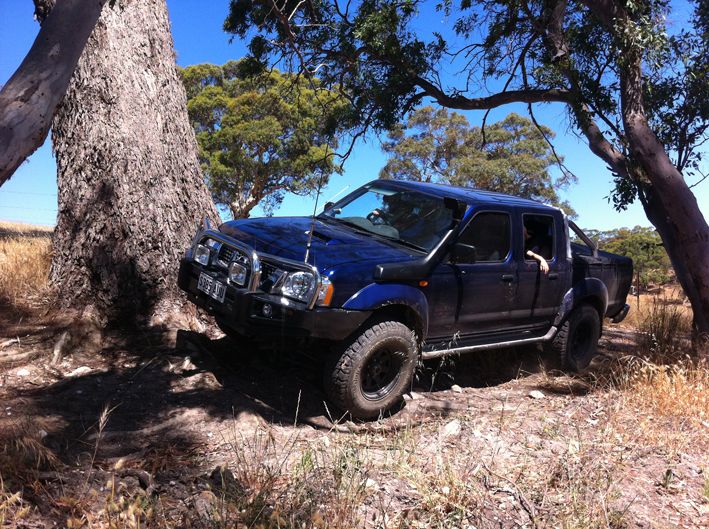
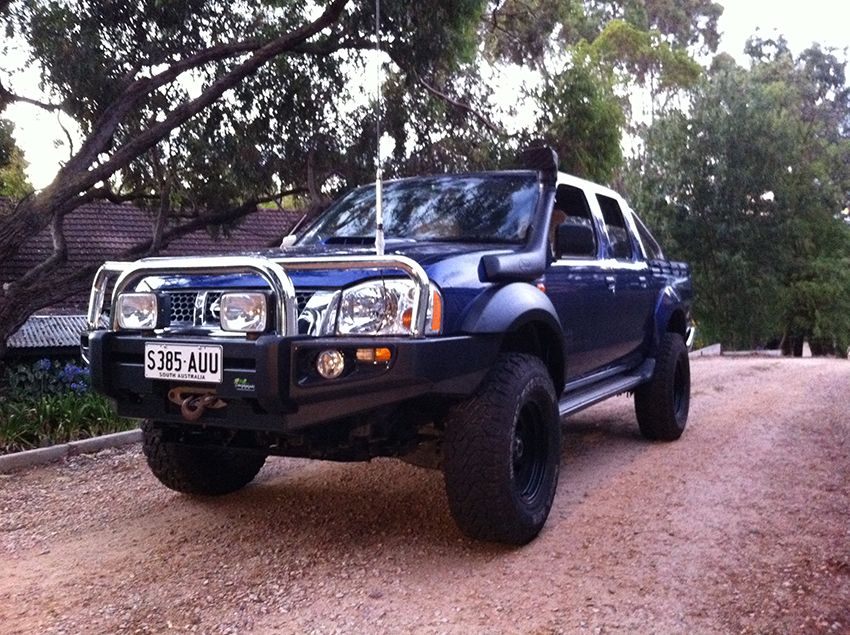
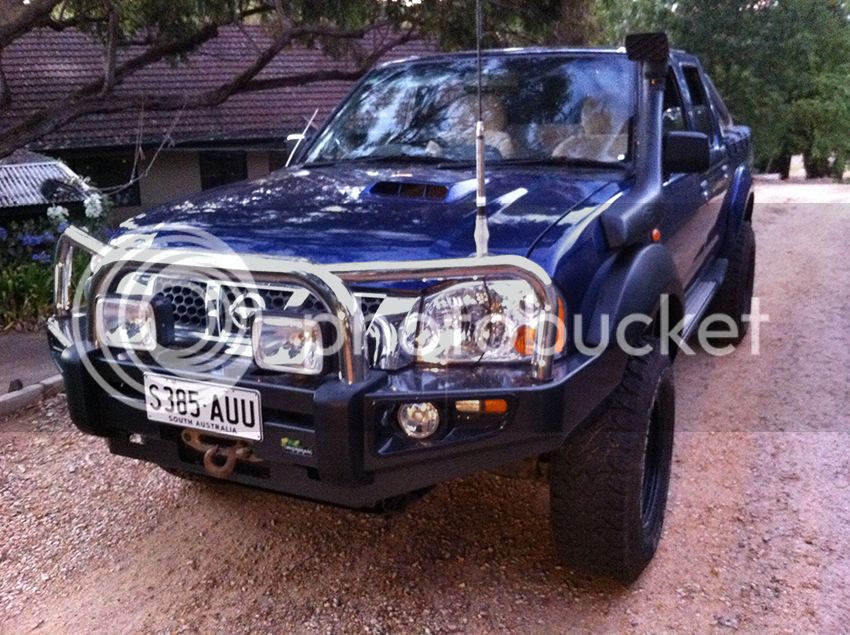
Here is Dave Navara named after my all time favourite guitarist.
I picked him up a month and a half ago from Sydney after looking around for a while. He is loaded with extras which was a great bonus as someone else had already spent the money.

See my footer for what he is packing:

Anyhow over the next month I am going to do some changes like:
Take the draws out of the tub and stack them on top of each other.
This is to make them removable and regain my tray.
Move the boss compressor to behind the back seat.
Move the 2nd battery to each near the cab in the tray or under the bonnet
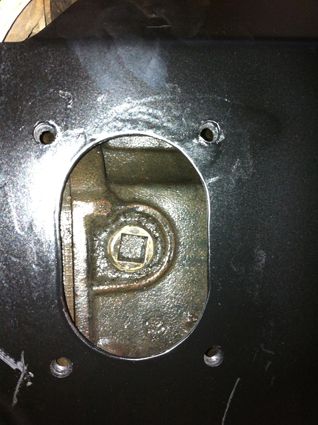
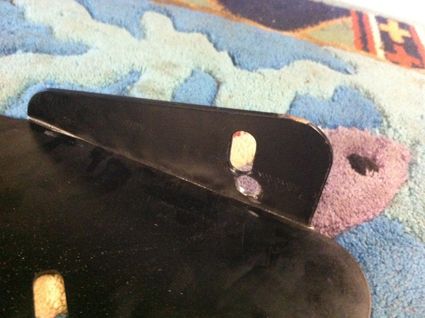
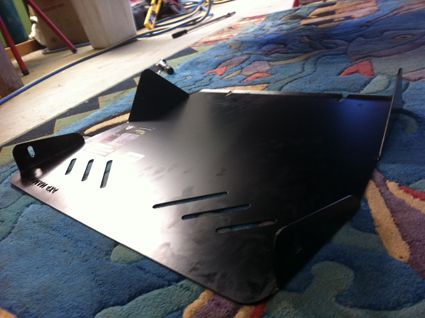
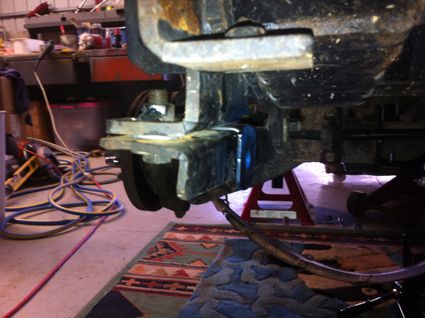
Fit bash guards
Sell ironman front bar and replace with Xrox Bar
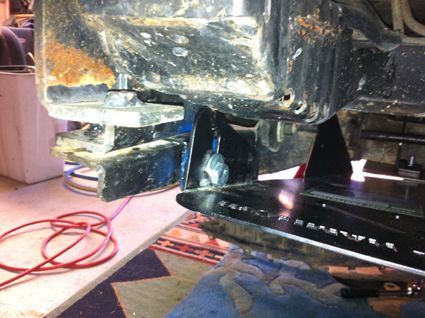
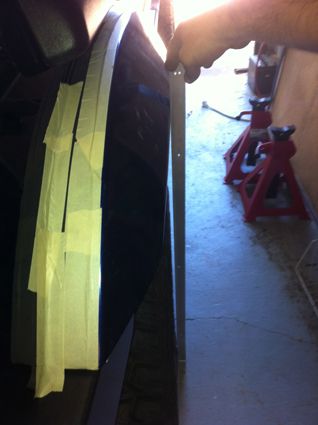
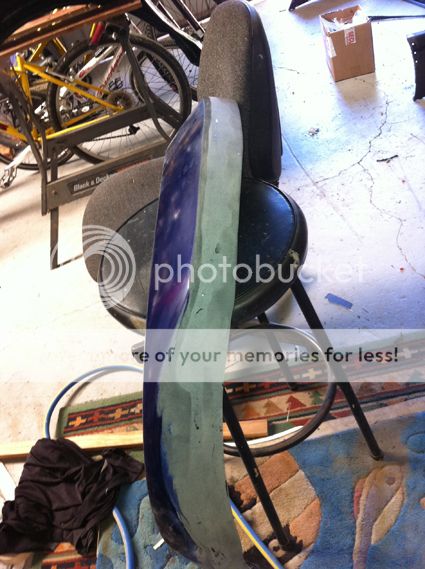
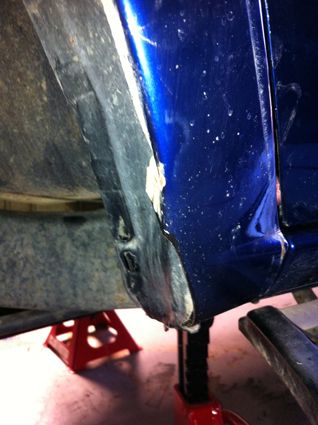
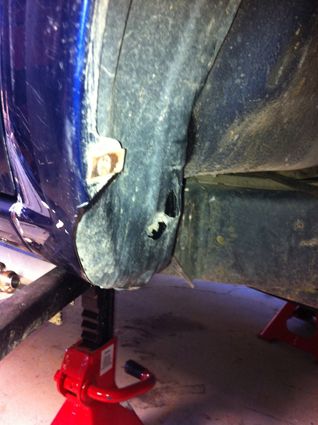
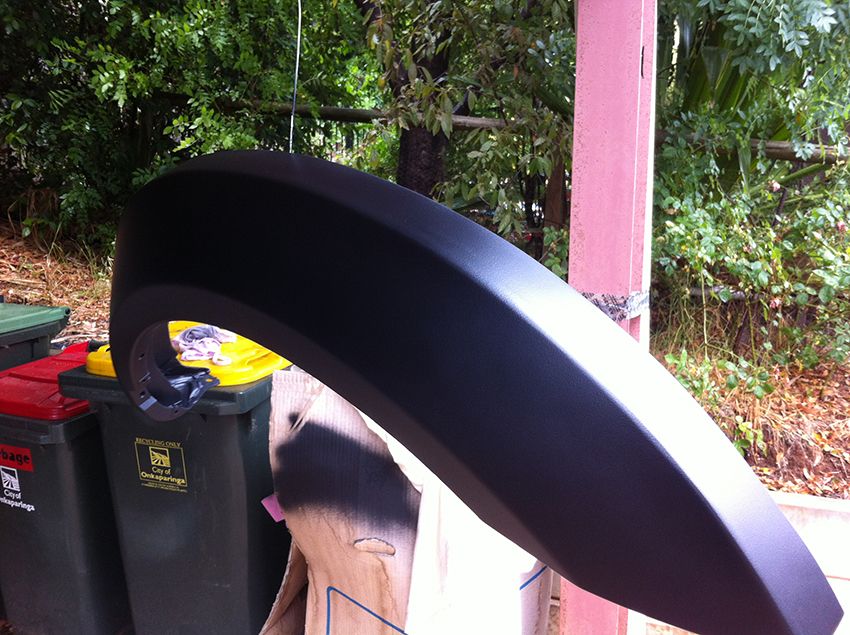
Widen Guards so the are legal
Spray inside of tub with liner

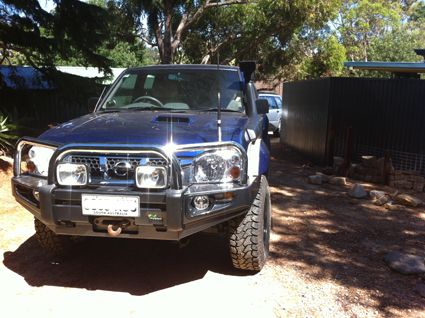
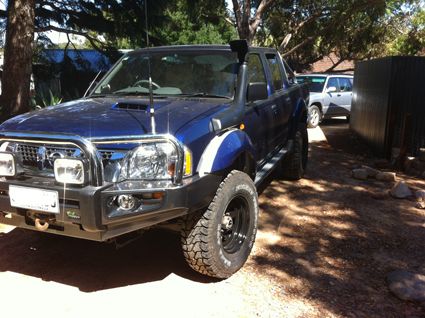
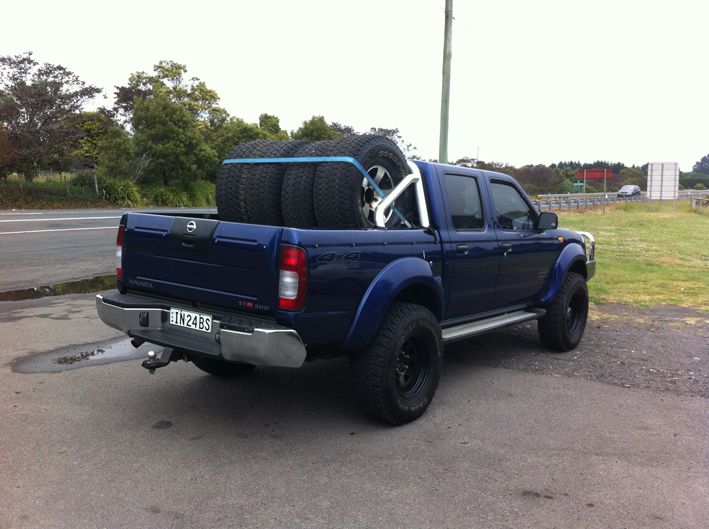
Here he is when I got him:
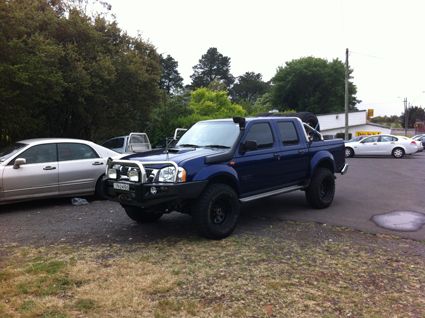
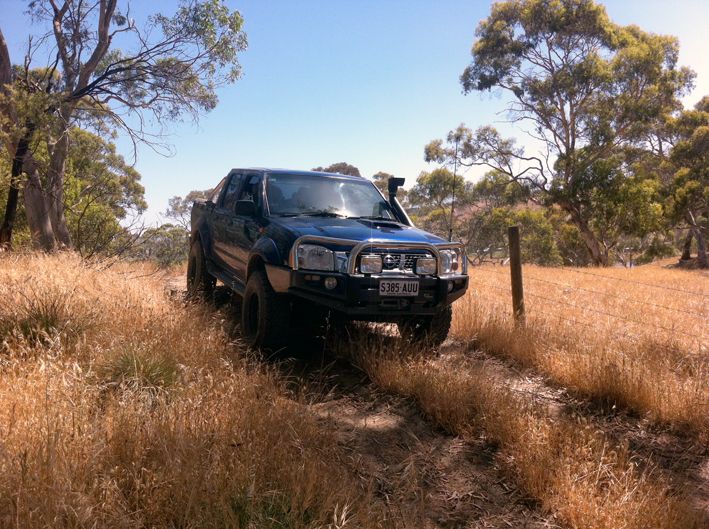
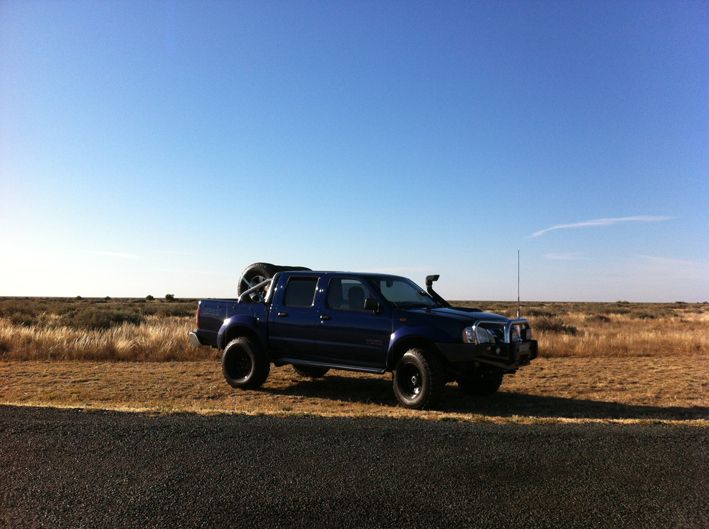
Woolongong2_zps5b447e11.jpg


Woolongong1_zps160a1db0.jpg


Hay Plains
HayPlain_zps1018d9b4.jpg


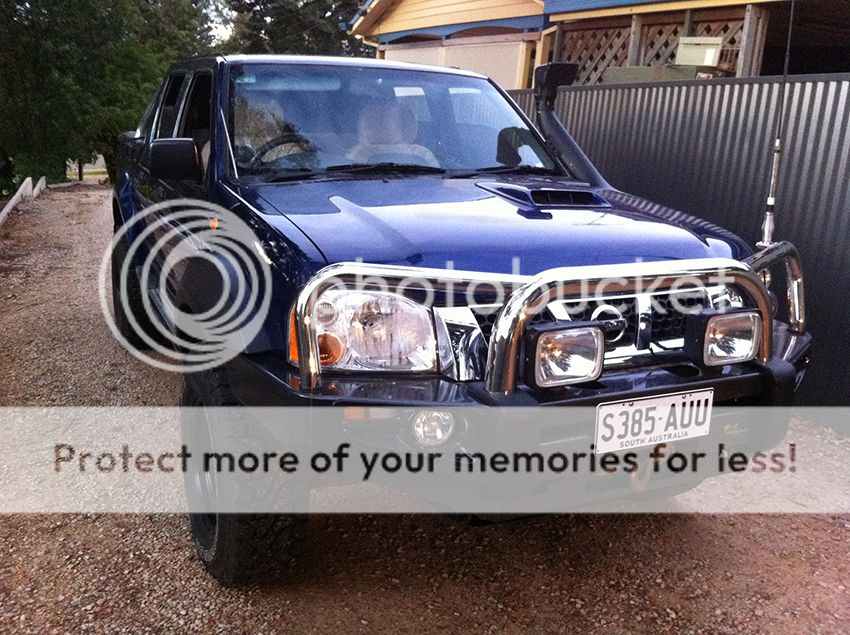
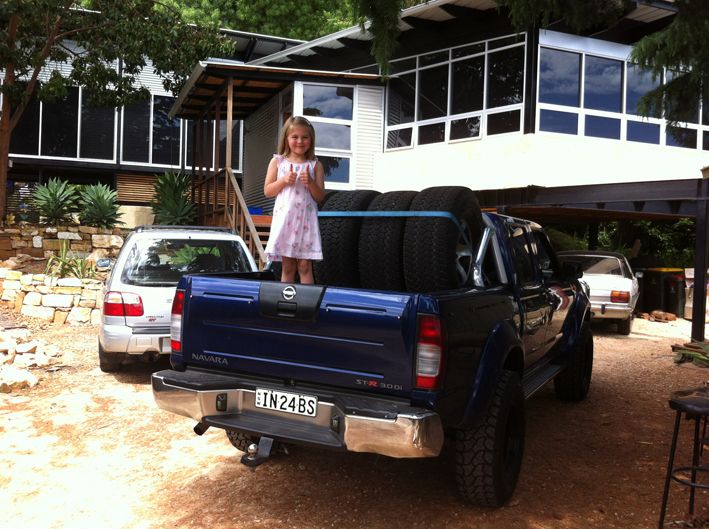
Home and two thumbs up from my daughter
Home_zpsda760bde.jpg
 
So the first thing was to take him driving and check for rubbing and YES to did rub. As it is mandatory here to run mudflaps I had a set on the front but they almost got ripped off when flexing. They will be the first to go. Doesn't look much as photos never do but this track will be awesome in the wet.

Lobethal1_zpsfac22569.jpg


Lobethal2_zpsdf4de018.jpg
 
First on my list... Bashplates

After reading lots on here I decided to get a set of Ironman plates and modify them to fit.
Funny how they done even fit their own front bar. Anyhow here's what I did:

After fitting them all up and not wanting to have to pull them off everytime I needed an oil change I stole someone off here's ideas and made and inspection plate. Worked a treat

When fitted I poked a little bit through to get the position right (remember check twice cut once) I used a little bit knowing that the hole saw I was going to use was big enough to cut over it.
Sumppluglocattionholes_zps00d50f10.jpg


I them took it off and hole sawed two holes side by side and die grinded out the sharp middle bits
I also worked out a template for the cover and bolt holes out of cardboard, traced it, drilled oversized holes and welded nuts to the inside of the plate. A light buzz with the strip disk and paint it black. Almost looks like it came that way:

Sumpholewithboltsweldedin_zpsf436c77f.jpg


Perfect:
SumpHoleInplace_zps82a92ad7.jpg
 
The front was a bit of mucking about but I think I sorted it:
The ironman bar and mounts sit out quite far front the front of the car so my solution requires having to fold another small plate that will give it a little more strength and carry the bash plate u to the front bumper. Here's what I did:

I got the front plate and instead of cutting the flaps off like others I scored them with my 1mm grinder blade and folded them up by heating and hammering in my vice:
Frontmountlocationtabs_zpscb656b96.jpg


ironmanFrontplate_zps944fa746.jpg


I then undid my front bar mounts and turned the mounts you get with the kit upside down and sandwiched them inbetween the mounts:
Fronttabbrackets_zpsa90562f7.jpg


These now bolt up to the bent up flaps:
IMG_1218_zps211f0792.jpg


The last section which is being bent up this week will fix to the upper edge of this one and angle up to meet the front bar.
 
Second on the list: Widening guards
I started this over the xmas holidays but have done my back in so I haven't got to the rears yet but a mate of mine is a plastic bonder welder and repairs car bars, interiors stuff really anything that is plastic, so I asked him if he could help me widen the guards to cover my tyres that hang out 28mm on each corner:

I have a thing for pumped up trucks, bit like the Arctic Trucks or prerunners but I like the D22's better. This is the progress so far:

Make template out of cardboard. Ended up going for 30mm extensions:
Frontguardflaremeasure_zps7fe9bc21.jpg


Tape onto the car to see look and fit
Frontflare4_zpsc9831d84.jpg


FrontguardsTemplate_zps4d4827a3.jpg


Frontguardtemplate3_zps92e64203.jpg
 
Build Plastic ones and mould them to the original flares. This will mount the same but instead of the factory (weak) clips we are screwing them from the inside of the guards on the front and running the factory clips in the back:
Wideguards_zpsdd58dd7d.jpg


This will be hi-filled and painted blue once we do the rears hopefully this weekend, maybe next.
 
While I had the guards off and had easy access to the bottom of the arch I also ground off the excess metal and cut the seal panel back a little and rust guarded, sealed and painted it all.
I them got my heat gun and moulded the factory plastics to sit back in the arch and guess what... no more scrubbing. I got this mod in the fitting 33's sticky in the tyres and suspension D22 section of this forum. Very easy just take you time.

Passenger side
BottomGuardCut_zps7a2cec77.jpg


Drivers side
BottomguardCutdrivers_zpse1bd397b.jpg


The next thing is finish the rear guards and then onto the custom roof basket.
T54
 
Nice navara mate I like that blue very tidy. Looking forward to see how these flares turn out. I'd be keen to do this myself good luck with the truck
 
We have had a bit of time off on the guards over the last few weeks but finally after the last 2 days of getting them right they are on. They will be painted blue the same as the car once I do the backs so I can paint them all together.

I am really happy with the way they have turned out, they have a factory look about them which keeps them discreet.

Onto the backs!

T54

IMG_1267_zpsf6284609.jpg


IMG_1268_zps0589604d.jpg
 
Back
Top