D22 Bullbar, winch & recovery points

Nissan Navara Forum

Help Support Nissan Navara Forum:

This site may earn a commission from merchant affiliate links, including eBay, Amazon, and others.
WTF, did you make them? They are sensational and seem to tick all the problem points for D22 recovery points. Great job mate!
 
Cheers br3nton, digbyj and Blacknav.
Yeah i made these ones, they are quite simple to make br3nton, tommy on this thread had the original design i just changed it slightly so i could use both bolts for the recovery hook and to also bring the hook a little closer to the front.

Yeah no worries Blacknav i can put up the dimensions and that of the brackets, although i will have to wait until tommorow to do that for ya.
 
They look nice. Be interested to see them bolted up.

Im curious as to why you cut out the top bit of angle at the end, it would have been stronger in an off centre recovery.
 
Haha you know ben85 i never actually thought about it givig it more strength until you said that. I cut it out simply because i thought it might make it a little easier to get the strap in and out of the hook, as i plan to use an equaliser strap between both driver and passenger side hooks, and then attach the snatch strap to that so it will spread the load between both points (touch wood as this isthe first time i have ever made anything like this and im no engineer or 4wd expert) However if on the off chance that due to me cutting out that section makes it weaker and it bend the side in then i will just make up new ones and work out another way to keep some strength in there, but for now i will just see how these ones work out. I will upload pics of them bolted onto my nav, hopefully i can get around to doing that in the morning, and i will post up dimensions and specs for anyone who wishes to have a go at making their own.
 
Thanks BP90,

They certainly look strong enough and make the hooks much easier to access, i will be making these for my Nav.
 
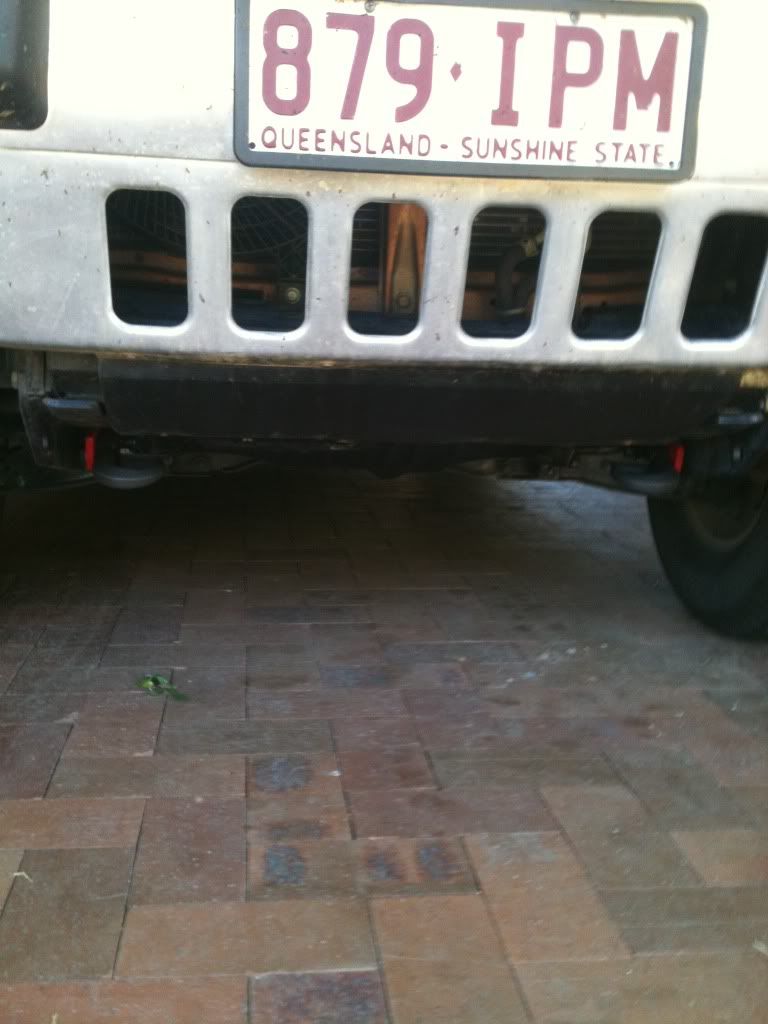
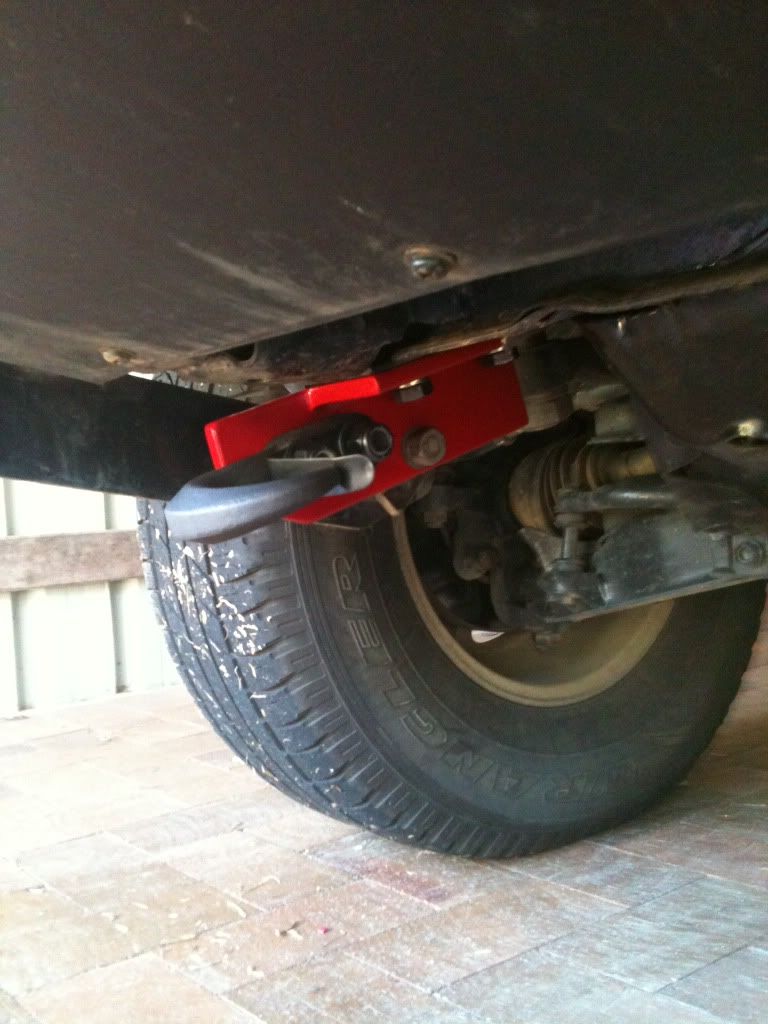
riteeo, heres some pics of my completed recovery points for my d22 navara bolted up now.

IMG_9212.jpg

IMG_9213.jpg

IMG_9215.jpg

IMG_9216.jpg


and i said i would put up dimension etc, so here goes, might sound a little confusing but if you need anything explained just ask away.

equipment i used to make them was- a 4inch grinder with cutting, grinding and flap wheels, a scribe, engineers chalk, set square, pedestal drill (15mm and 17mm drill bits), and then a 19mm socket and combination spanner to undo and tighten all bolts and nuts

recovery hooks- just any bolt on recovery hook will do, i got mine from BCF cost $20 each they are a 10,000lb hook (cant remember the rating in tonnes), but theres alot of places that sell them.
bolts needed- you will need 4 M12x1.25 30mm long high tensile bolts and washers and spring washers for the captive nuts that are already located in your chassis (see earlier page its either 1 or 2 in this thread for i photo i uploaded showing the captive nuts,
-also i went and bought 4 replacement bolts for the recovery hooks not sure exactly what size they are except for they are roughly 14mm diamter and i took it into my local nut and bolt store and got 4 that were 10mm smaller than the ones that came with the hook which were 70mm so you need about a 60mm long bolt i didnt used spring washers as the hooks came with lock nuts. The cost for the 8 new bolts, plus all the washers came to $16. Price will more than likely vary on this from shop to shop.

the bracket is made out of 65EA10 (which is simply 65x65x10mm angle iron). I was able to find a couple of offcuts of this angle at work which i used. so i dont know how much the angle will cost to buy, although im sure if you went to a local fab shop they might have a few offcuts that you could get for cheap.
Ok the dimensions for the peice of angle are as follows, (all of these are outside measurements including bolt holes),
-the side length (the length where the hook bolts onto and where the bullbar mounting bolt goes through) is 210mm long,
the top length (where the m12 bolts go through to bolt to the captive nuts in the chassis is 150mm long.

bolt holes are,
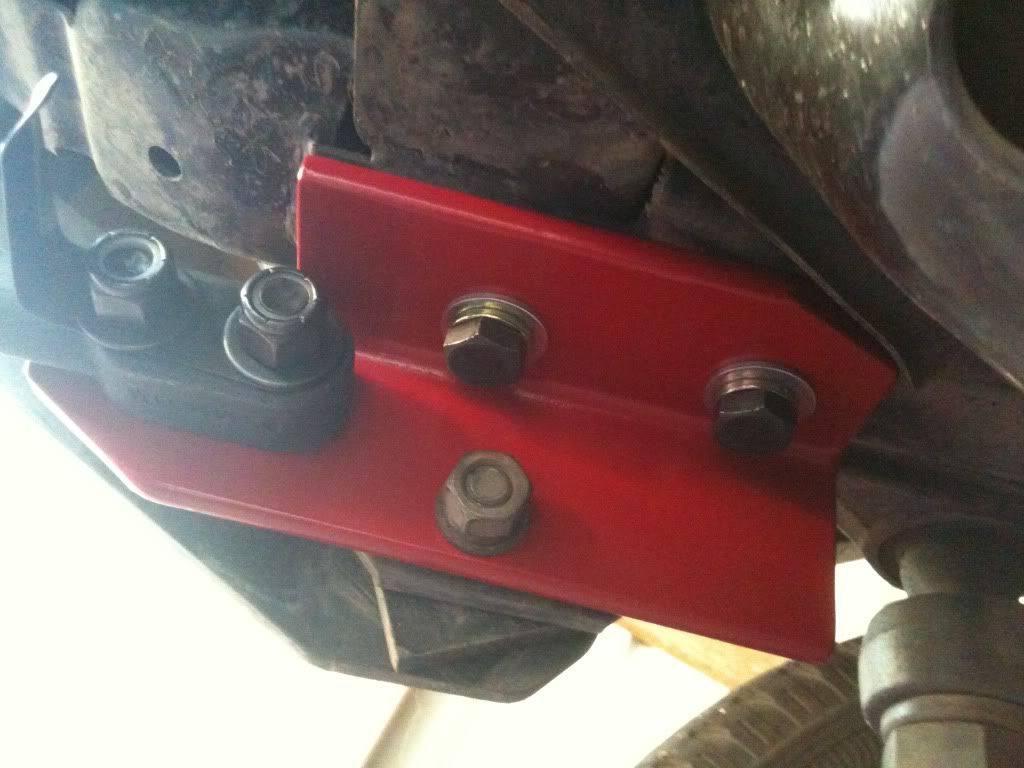
-for the captive nuts start at the front of the top section, measure back 52mm for the first hole and 122mm for the second hole, and approx 32mm from the edge (meaning the corner of the metal), the location of the captive nuts can vary though, tommo on here said his were all 33mm from the edge, however all mine were different so make sure you get a steel rule and check that, the difference appears to be cause from the captive nuts not being centred over the chassis holes prior to being welded in. i used a 15mm hole for these just to allow for any mistake when i measured them up.
-for the bullbar mount bolt, measure in 86mm from the back edge and 51mm from the edge (corner), i used a 17mm hole for this hole
-for the recovery hooks, measure 32mm down from the corner of the peice of angle, and then you want to about 55mm from the very front, i cant remember what the spacing between the 2 holes of the hook were although im not exactly sure if all recovery hooks are made exactly the same. i used a 15mm hole for these holes

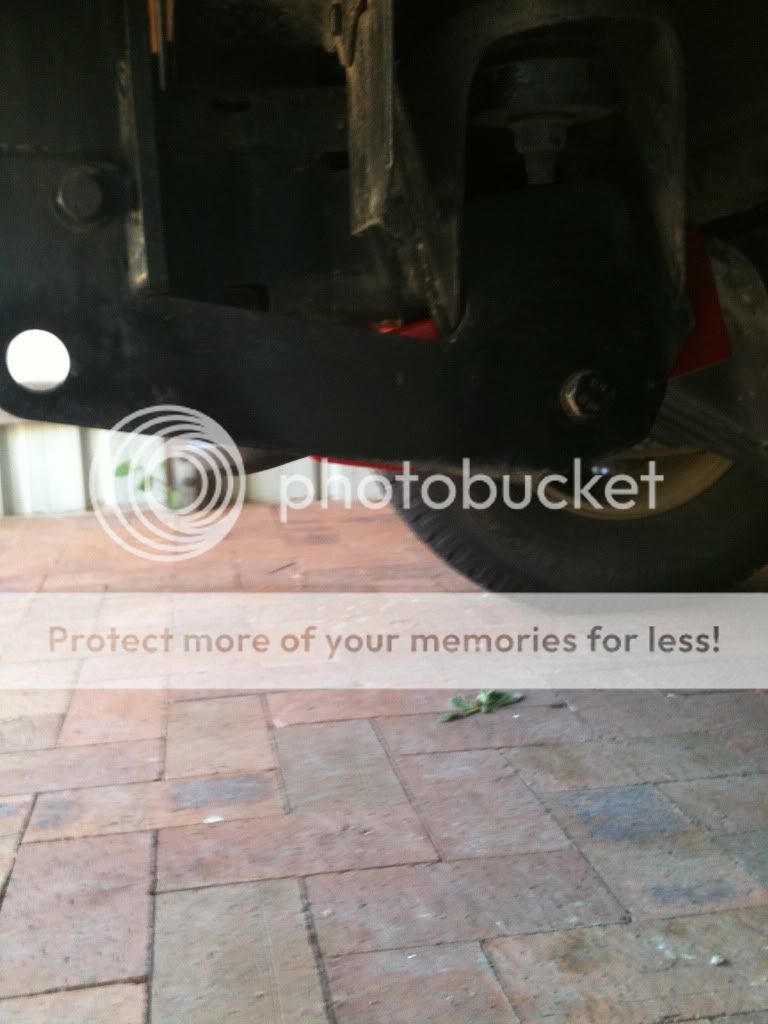
now the 150mm section will end up with the front end of it sitting in line with the very end of the actuall chassis (which you can see in the close up photo).

for the angled cut off sections on the top part where it attaches to the chassis they were different from driver to passenger side, the passenger side i had to cut off more then the driver side one, this is so the bracket doesnt catch on what appears to be a bracing plate thats welded to the chassis, so for this i would recommend just after you drill your holes just put it up by hand lining the front up with the end of the chassis and then marking with chalk a rough line that is approx 2-3 mm away from that brace plate and then cut that piece off the bracket with a grinder then just grind it down until it fits nicely, rememeber dont cut off too much otherwise you may cut to close to your bolt hole. the angled cut at the front underneath the recovery hook i simpley bolted the bracket up to the chassis without the hook attached and then with some chalk marked a line on the same angle as the bullbar mount but just about 2mm lower than it,

just again, make sure that before you drill any holes in your brackets, get a steel rule and get under and double check the exact positioning of your captive nuts and bullbar mounting bolts, as they could very well be slightly off from where mine were.

to paint them i just used a tin of killrust, ideally i would like to get them properly painted r powder coated, but this will do for now. if anyone has any questions or if you think i have missed out somethingwhen explaining it then just ask me and i will be happy to help.
 
well they do look pretty good. I'll be making some like this when I get the chance.
 
They look shit hot! One of many things I'd like to do but just finding time.

Mitch
 
They look shit hot! One of many things I'd like to do but just finding time.

Mitch

There are quite fiddly, but once you sort out the dimensions of the 1st one, its alot quicker.


They look pretty good in bright paint.
I do agree with Ben85, in a straight on recovery they will be fine, but if there is some side load it could easily bend. Maybe you could move the hook back by using the rear hole on steel angle and front hole on hook. Would require drilling anther hole ~40mm back.

I would drill through the plate hanging from the chassis and use the std 70mm bolt that came with the hook.

here's mine. Trimmed the mount to the outline of the plate hanging down.
IMAG0077.jpg
 
There are quite fiddly, but once you sort out the dimensions of the 1st one, its alot quicker.


They look pretty good in bright paint.
I do agree with Ben85, in a straight on recovery they will be fine, but if there is some side load it could easily bend. Maybe you could move the hook back by using the rear hole on steel angle and front hole on hook. Would require drilling anther hole ~40mm back.

I would drill through the plate hanging from the chassis and use the std 70mm bolt that came with the hook.

here's mine. Trimmed the mount to the outline of the plate hanging down.

Yeah i see what you guys mean, i plan on using a equaliser strap to spread the load between the 2 points, so hopefully it wont bend, however if it does bend along the line of the cutoff then, i will make up another pair where i might instead of cutting out that piece instead cut off just the corner at 45degrees. Which should be almost spot on with the 150mark and the very front of the recovery point. Then that way there is still a little bracing for the front. Rekon that would work better if the way i hav done it fails?
 
BP90 & tommy, how are your recovery points going? used them yet?
Im starting to think about knocking some up again.
 
your recovery points look good. The bolts should protrude all the way through the nyloc nuts though, so keep a good eye on them that they dont loosen up. Allso if you had cut the section out over the hook on an angle instead of square it would have provided more strength to stop it bending when recovering on an angle. Other than that you have done a great job.
 
BP90 & tommy, how are your recovery points going? used them yet?
Im starting to think about knocking some up again.

Nah havent used them yet mate, only been offroad a few times and never really went through anything that got me stuck. Just ordered a snorkel so on ethats on i will prob be more keen to get back offroad
 
your recovery points look good. The bolts should protrude all the way through the nyloc nuts though, so keep a good eye on them that they dont loosen up. Allso if you had cut the section out over the hook on an angle instead of square it would have provided more strength to stop it bending when recovering on an angle. Other than that you have done a great job.

Cheers stix, yeah i cut that section out without really thinking to well, (silly me should have measured twice cut once). But my original thinking was to cut it out to make putting a strap end in the hook although it wasnt until i cut it out and drilled the holes that i realised i could have just cut it on a angle. Oh well im ging to prob make up more and cut them on the angle so i dont have to worry about them.

Anyways its nice to know that people think ive done a decent job on them.

Bart
 
Okay, when you go to fit your home made recovery points, how much support do you need to give to the bull bar before you release the bottom bolts holding it on?

Also, is there anywhere around the bull bar to take comparative measurements for before and after checking?

I'm halfway through drilling up my angle(75x50x8mm) and hopefully will be in a position to do a test fit this afternoon. Just not sure about how much I need to chock up the bullbar.

i dont know what other people have had to do but i didnt have to support the bull bar at all i installed them by myself, and didnt need to support it or anything, and it hasnt moved either. theres only one bolt you need to remove to do it so aslong as all your other bullbar mounting bolts are tight then it shouldnt move and didnt for me.

bart
 
Did you have to replace the original bolt for the bull bar???

Nah i didnt have to. Because you replace the 8mm thick square washer thats already there with the 10mm angle iron there no need to buy longer bolts for the bullbar mounts
 
Last edited:
Back
Top